
Are your children going round in circles between two screens and you’re running out of ideas to channel their boundless energy? 🎨 Creative activities for children aged 7 to 10 are the perfect answer to turn this quiet time into a moment of pure invention, while sharpening their motor skills and their logic. Here you’ll discover original techniques such as marbling or foil art to boost their confidence and make unique memories with next to nothing.
- The benefits of creative activities for children aged 7 to 10
- Original art techniques to mix things up
- Clever crafts from recycled materials
- Creative projects to follow the rhythm of the seasons
- Homemade games and personalised bedroom decor
- How to set up a stress-free craft session at home
🎨 The benefits of creative activities for children aged 7 to 10
After spending time in front of screens, it’s time to rediscover how hands-on work transforms a child’s day. Artistic and cultural awakening is a real lever for development that helps curious little ones blossom. We often underestimate the impact of a simple paintbrush or a ball of modelling dough on their overall growth.
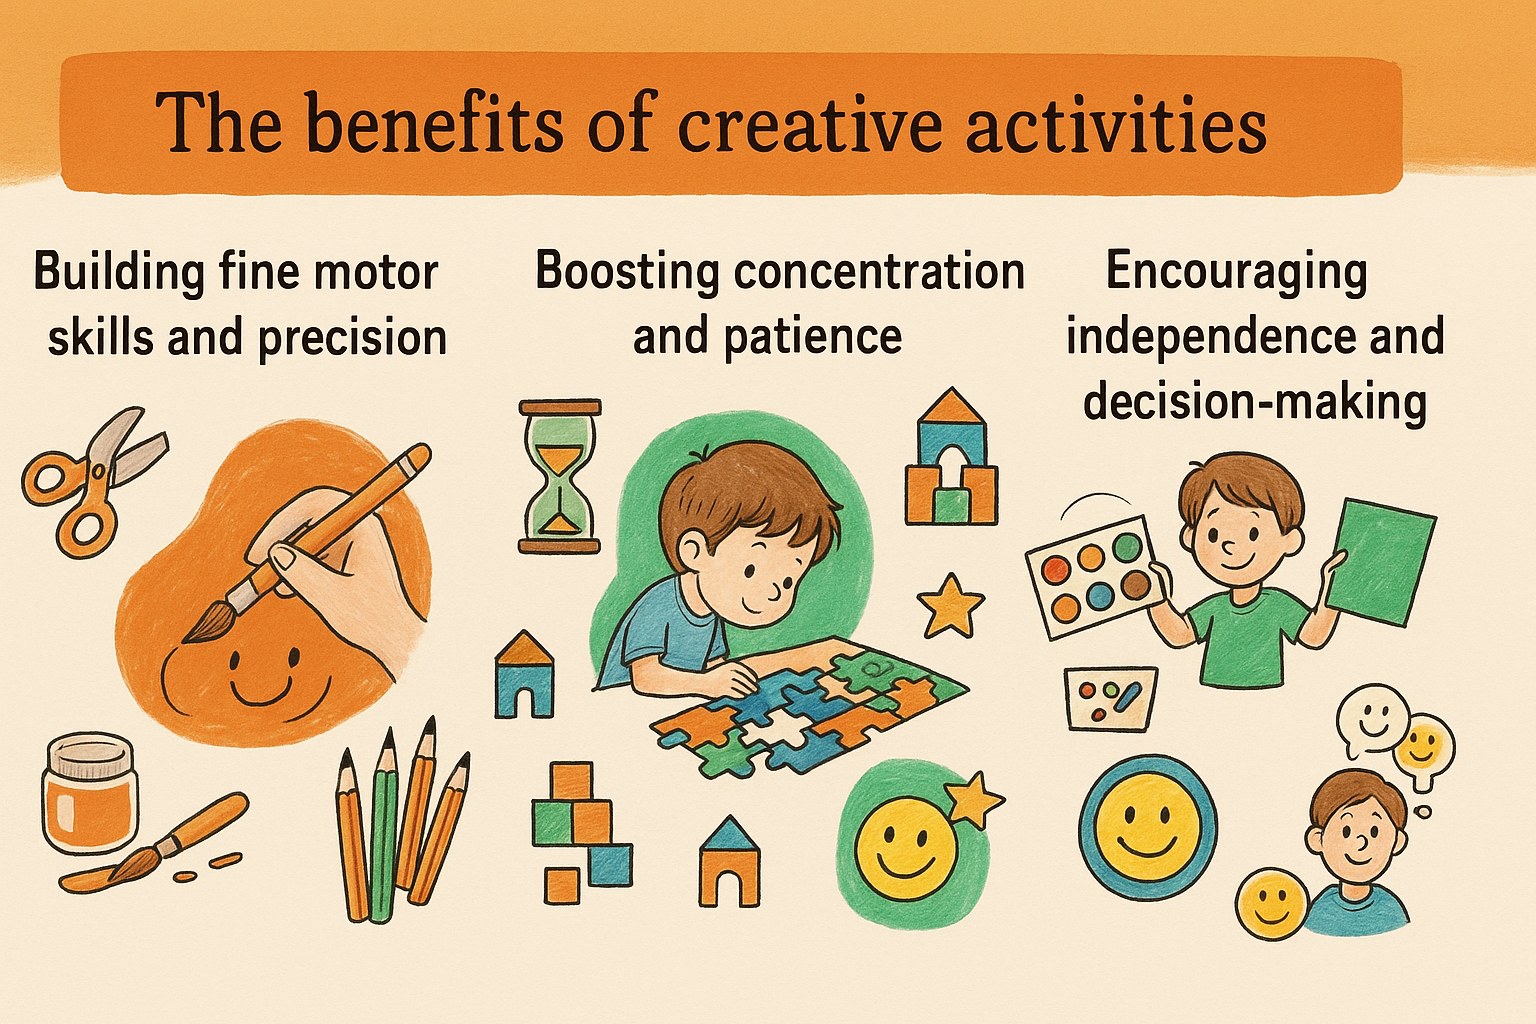
🤲 Building fine motor skills and precision
Detailed drawing calls for careful control of the fingers. The child learns to draw clean lines. This manual agility strengthens the muscles of the hand. It’s a solid foundation for joined-up writing.
Painting teaches control of the pressure on the brush. Too heavy a stroke flattens the bristles. A light touch, on the other hand, lets you create subtle, precise shades.
Crafts call on constant hand-eye coordination. The child adjusts their action to what they see. This skill is crucial for pulling off increasingly complex builds.
🎯 Boosting concentration and patience
A long-term project means staying focused. The child learns that the result isn’t instant. This perseverance is a victory for someone so young.
Crafting brings about a deep, calm state of mind. Handling materials calls for care and quiet. It’s a form of active meditation that’s very good for settling down.
Finishing a piece brings huge pride. The child looks at the fruit of their sustained effort. This sense of achievement strengthens their motivation for future challenges. Personal satisfaction then becomes the main engine of their creative learning.
🌟 Encouraging independence and decision-making
Choosing your own colours is a powerful act. The child expresses their taste with no outside influence. This freedom of form develops a personal, confident sense of style.
Putting pieces together means solving technical problems. How do you make this cardboard hold up? The child tries, fails, then finally finds the solution by themselves.
Making a one-of-a-kind object helps build their identity. The child doesn’t just copy an existing model. They put their personality into every detail of their work. This self-affirmation is essential for gaining confidence.
🖌️ Original art techniques to mix things up
To go beyond simple colouring, let’s explore methods that are really out of the ordinary.
There are a thousand ways to spark a young imagination without turning the living room into a building site. By varying the surfaces and textures, you avoid boredom while building real dexterity. You can also track down creative kits to experiment by yourself and have all the materials delivered straight to your door.
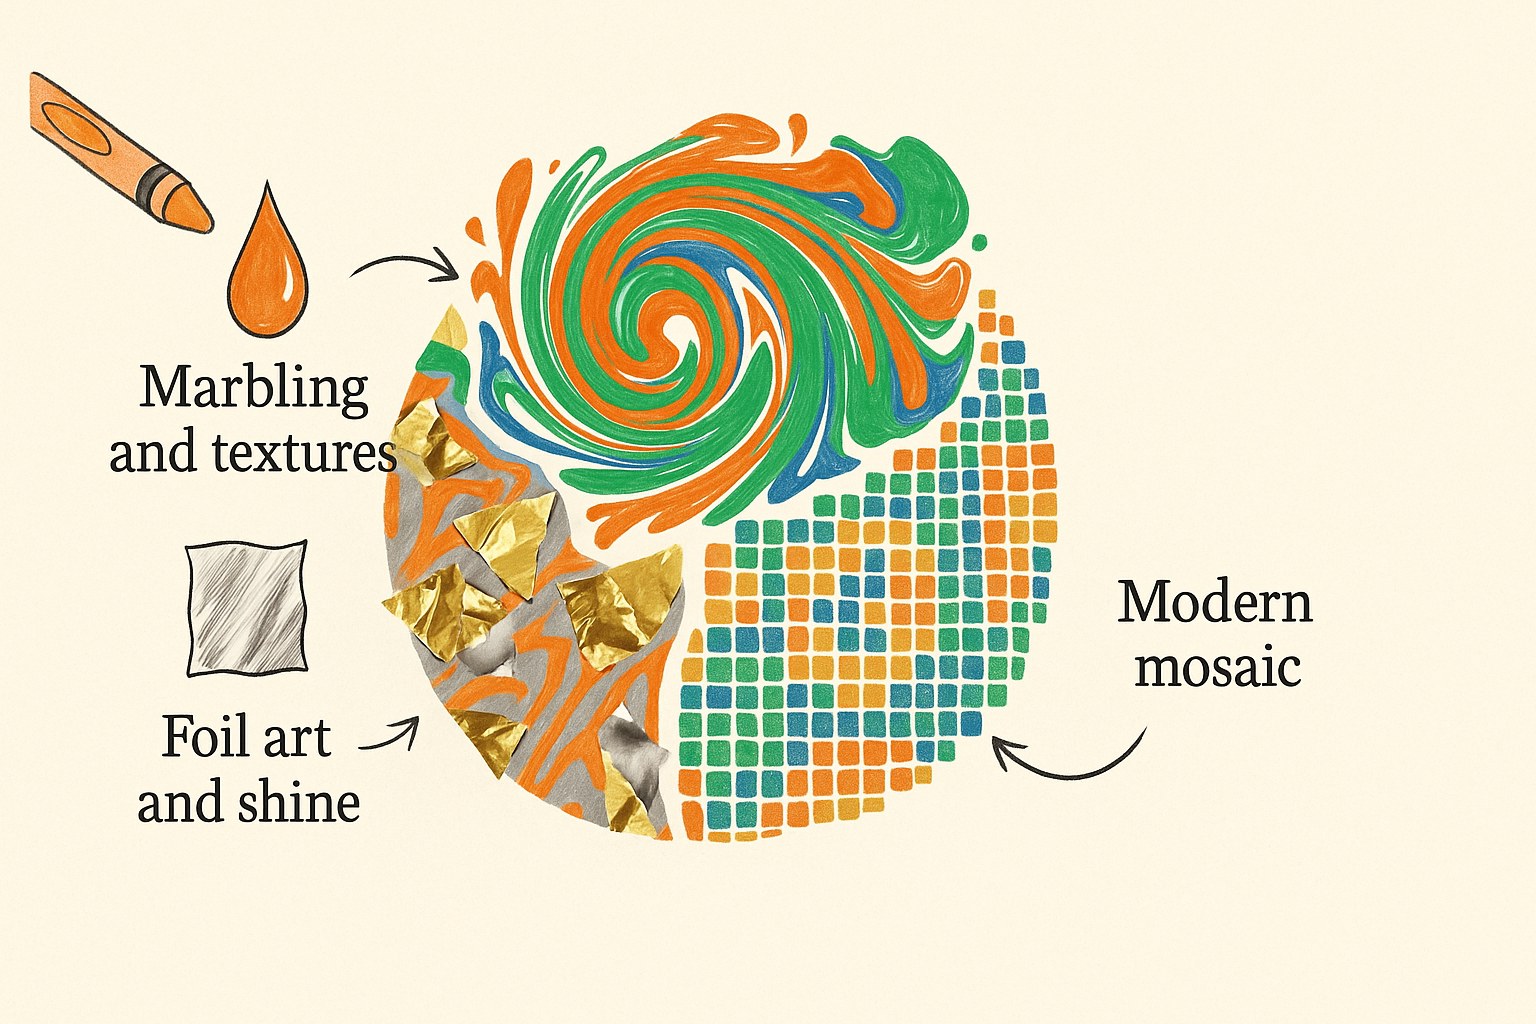
🌀 Trying marbling and texture effects
Marbled paper uses ink floating on water. You gently lay the sheet on the surface. The pattern transfers instantly with a striking visual effect.
The shapes you get are completely unpredictable and abstract. Each attempt gives a different result from the last. It’s an excellent lesson in the beauty of chance in art.
Don’t limit yourself to plain paper. Try this technique on offcuts of fabric or small wooden objects. The paint takes differently depending on the surface you choose. That multiplies the ways to decorate the home or to make gifts.
✨ Trying foil art and metallic shine
Foil art means sticking metallic sheets onto your work. You apply a special glue to the chosen areas. Once dry, the metal shines bright.
You’ll need transfer sheets and a stylus. This simple kit gives a professional finish.
Star patterns are a perfect match for this glowing method. Draw constellations or futuristic robots. The contrast between the matte paper and the shine is gorgeous.
Add a few touches of silver to snowy landscapes. The final result will always impress their friends.
🟦 Making mosaics with modern materials
Use squares of coloured paper instead of mosaic tiles. Flat beads work very well too. It’s a light, easy-to-handle alternative for children.
Filling a geometric shape calls for logic. You have to fit the pieces in without leaving gaps. It’s a real artistic puzzle that takes patience. The child has to plan where each piece goes before gluing it down.
Play with contrasts to make the pattern stand out. Boldly alternate warm and cool colours. A well-thought-out harmony will make the mosaic really lively.
♻️ Clever crafts from recycled materials
Instead of throwing things away, let’s turn our rubbish into treasure with a little imagination.
To get your sessions started, here’s a little list of treasures to set aside:
- Delivery boxes
- Milk bottles
- Lolly sticks
- Toilet roll tubes
- Cork stoppers
📦 Turning cardboard into giant structures
Big boxes become impressive castles. You can also build rockets ready for take-off. Once finished, these structures offer hours of play.
The cutting needs an adult’s help for safety. Use wide tape for strong joins. Reinforce the corners with folded strips of cardboard. A stable structure will hold up better.
Decorate the walls with thick acrylic paint. Add windows by cutting out simple squares. Gluing on old newspapers gives an original industrial style.
🍼 Giving plastic bottles a second life
Bottles easily turn into flower pots. They also make excellent pencil holders. It’s a fun way to tidy up a desk.
Watch out for sharp edges after cutting the plastic. Cover them with coloured tape to protect little fingers. It’s an essential safety step.
Personalise the containers by making animal faces. Cardboard ears and googly eyes are all you need. A simple bottle then becomes a funny cat or rabbit. Let the child choose their totem animal for this project.
🍦 Using lolly sticks for builds
Make personalised photo frames with a few sticks. Secret boxes are also a big hit with children. This material is very simple to handle.
Layer the sticks, crossing them over for stability. Use a strong white glue that turns clear as it dries. Hold the pieces for a few seconds for a perfect bond. A well-glued structure will last for years.
Add glitter for a shiny, festive finish. Pieces of coloured felt can also line the walls. The final result will be soft to the touch.
🍂 Creative projects to follow the rhythm of the seasons
The calendar is an endless source of inspiration for refreshing activities all year round.
The rhythm of the seasons gives children essential markers in time, while sparking their imagination with varied, festive themes.
🐣 Celebrating Easter and the arrival of spring
Make pretty garlands with coloured crepe paper. Spring flowers bring cheer into the home. It’s a fresh, very visual craft.
Dye eggs with red cabbage or turmeric. These natural techniques are safe for little ones. The colours you get are soft and authentic.
Make baskets by weaving strips of thick paper. They’ll come in handy for the traditional egg hunt in the garden. Strengthen the base with a cardboard disc. Add a flexible handle to make carrying easier.
🎄 Preparing magical ornaments for Christmas
Salt dough lets you create unique hanging decorations. Cut out stars or trees with cookie cutters. Then paint them in bright colours.
Make greetings cards with raised elements. Glue on little pom-poms or pieces of fabric. Your loved ones will be touched by the thought.
Design an advent calendar from paper rolls. Hide a little surprise or a challenge in each compartment. Number them with glittery pens for a magical touch. Hang the whole thing on a pretty wooden branch.
🎃 Inventing accessories for Halloween and carnival
Masks get dressed up with feathers and colourful gems. Use a cardboard base for more hold. Each child creates their own imaginary character.
Turn glass jars into spooky lanterns. Paint monster faces on the outside. Slip an LED candle inside for the atmosphere.
Foam board is ideal for making lightweight props. Cut out knights’ swords or fairy wands. This material is very easy to work with using a craft knife. Decorate it all with permanent markers.
🏡 Homemade games and personalised bedroom decor
Making your own games is the best way to take ownership of the rules. On top of that, play as motivation turns a rainy afternoon into a real artistic, playful adventure.
🎲 Designing a one-of-a-kind memory or board game
Draw pairs of cards on a favourite theme. Dinosaurs or space are classic choices. A child gets more involved in a game they’ve illustrated.
A game board needs nice stiff cardboard. Draw a route with squares full of surprises. Use different colours to mark the stages.
Make original playing pieces from painted pebbles. Polymer clay also lets you model little characters. Each player will have a figure that really looks like them. Varnish it all for better protection.
🎭 Making a shadow theatre to tell stories
A simple shoebox becomes a theatre. Cut a big rectangle in the back of the box. Fix a sheet of tracing paper, pulled nice and taut.
Cut silhouettes out of very thick black paper. Fix them onto wooden skewers. Your characters are now ready to take the stage.
Place a desk lamp behind your setup. The shadows cast onto the tracing paper create a mysterious mood. The child can then make up fantastical tales for the family. It’s an excellent speaking exercise.
🕯️ Creating tealight holders and wall hangings
Decorate wooden bases with colourful ribbons. Add a few beads for a touch of whimsy. These objects instantly personalise a bedroom wall.
Tracing paper gives off a very soft light. Use it to wrap around a small recycled glass jar. The muted effect is perfect for a night light.
Put together a mobile with branches gathered in the woods. Hang origami shapes or light feathers. Balancing the structure takes a bit of technical thought. It’s a poetic, natural decoration.
📋 How to set up a stress-free craft session at home
For the fun to stay whole, a little dose of organisation is needed before you start. The idea is to focus on the creative process rather than chasing a perfect result. If you let go of performance, the activity becomes a true moment of sharing.
| Step | What to do | Anti-stress tip |
|---|---|---|
| Setting up the space | Lay down a protective cover. | Use old recycled cardboard. |
| Choosing the materials | Take out only what’s needed. | Go for washable paints. |
| How it unfolds | Let the child explore freely. | Put on some soothing music. |
| Tidying up | Plan quick sorting bins. | Clean with a damp sponge. |
🖼️ Setting up a corner for arts and crafts
Choose a bright space so eyes don’t get tired. A table that’s easy to clean is best for painting. Avoid areas with carpet.
Set up storage bins at child height. This greatly encourages their independence during the activity. They’ll be able to find their tools without asking you all the time.
Always protect surfaces with old cardboard. A worn-out plastic tablecloth does the job too. You’ll no longer dread glue or paint stains. The final clean-up will then be much quicker.
🛡️ Choosing safe, durable materials
Go for water-based glues with no toxic solvents. Washable paints are a must for parents’ peace of mind. Always check the labels before buying.
Pick scissors suited to children’s hands. Tools that are too big are dangerous and hard to handle. Ergonomic equipment guarantees more precise movements.
Choose recycled supplies whenever you can. Recycled paper offers an interesting texture for drawing. It’s a lovely chance to talk about ecology with the youngest ones. Creativity can be eco-friendly too.
🖼️ Showcasing and keeping the artwork
Create an exhibition gallery on a living-room wall. Use clothes pegs to swap the drawings easily. This hugely values the work the child has put in.
Make a photo album of the best creations. It’s a precious keepsake that takes up little space. You’ll be able to leaf through it together in a few years.
Give some pieces as handmade gifts to the grandparents. It’s a gesture that always touches the family deeply. The child thus learns the joy of giving what they’ve made. It’s the finest reward of all.
By varying the techniques between modelling, painting and recycling, you give your little artists an ideal playground to sharpen their motor skills and their confidence. Get your materials ready quickly to launch your next creative session for children aged 7 to 10. What a joy to see their eyes light up at their own masterpieces!
❓ FAQ
✋ Why favour hands-on activities for children aged 7 to 10?
Arts and crafts are real allies for our children’s development. Around 7 to 10, handling brushes, scissors or beads sharpens fine motor skills and hand-eye coordination, which helps a great deal with writing. It’s also a welcome break after school to unwind away from screens.
Beyond the gesture, these moments fire up the imagination and teach patience. Managing to finish a hands-on project boosts self-confidence and lets children express their emotions in a gentle, playful way. It’s a lovely path towards independence while having fun.
🏖️ How do you make homemade magic sand with children?
Magic sand, also called moon or kinetic sand, is a brilliant sensory activity that’s very simple to make with ingredients from the cupboard. Just mix sand with a little flour and oil to get that unique texture that moulds endlessly without scattering all over the house.
To make the experience even more fun, you can add colouring or glitter. It’s an excellent alternative to classic modelling dough that lets children create precise shapes while enjoying a relaxing feel.
♻️ Which recycled objects can you use to craft cleverly?
Recycling is an endless source of treasure for our little artists. Toilet roll tubes turn into characters, egg boxes become funny animals, and plastic bottles are recycled into flower pots or bird feeders. It’s a lovely chance to raise their awareness of ecology.
Stop throwing away those lolly sticks or cork stoppers! With a bit of glue and paint, they let you build photo frames, little boats or miniature structures. Turning a piece of rubbish into a decoration is a magical victory for a child’s imagination.
📄 What are the best techniques for decorating paper in an original way?
To mix things up, you can try marbling, a fascinating technique where you drop paint onto a bath of water to create swirling patterns. The result is always unique and a little mysterious, which goes down brilliantly at this age.
Foil art is also a very rewarding option for adding shine. Using metallic sheets and a bit of adhesive, children can add gold or silver highlights to their drawings. These creations can then be cut up to make colourful, textured paper mosaics.
🎨 How do you set up a craft session at home without ending up covered in paint?
The secret to a successful session lies in the preparation, to avoid the stress of cleaning up. Setting up a dedicated corner with a plastic cloth or old cardboard lets creativity run free without worrying about stains. Choosing washable materials and solvent-free glues is also more reassuring for everyone.
Remember to organise the materials in accessible bins to encourage independence. Once the piece is finished, why not create a little exhibition gallery on a wall or in an album? Showcasing their work is the best way to make them want to start again the very next day.
