Colour-by-code colouring is a clever twist on ordinary colouring: in every area of the picture, a little code tells you which colour to use. 🎨 Most of the time, that code is a number paired with a key (1 = red, 2 = blue, 3 = yellow, and so on). Your child reads the code, finds the right colour, colours it in — and the picture slowly reveals itself. The surprise of the finished result is a wonderful motivator!
On this page you’ll find six colour-by-code sheets to print: lovely, gentle animals to colour using a 9-colour code, perfect for nursery and reception. ✏️ And for little ones who can’t recognise numbers yet, we also explain the picture-code version (a sun = yellow, a strawberry = red), which works from as young as two and a half.
🎯 Why colour-by-code is such a great activity
Colour-by-code brings together several early-years skills in a single activity: recognising colours, recognising numbers (or symbols) and steady, careful pencil control. And it never feels like a lesson.
The idea is simple and reassuring: your child spots a code in an area, finds it in the key, and applies the right colour. This gentle guidance makes the activity easy to access and guarantees a sense of success. There’s no intimidating creative choice to make — just one clear rule to follow, at their own pace.
Motivation through surprise is the format’s other great strength. Unlike ordinary colouring, where children see straight away what they’re colouring, a coded picture reveals its subject bit by bit. That little mystery grabs their attention and makes them want to see it through to the end.
📋 Our colour-by-code sheets to print
🖍️ Here are six colour-by-code sheets, to colour by following a 9-colour key. Each sheet shows its numbered key and, for most of them, a colour model to guide your child. Ideal for nursery and reception, or to colour together with younger children.
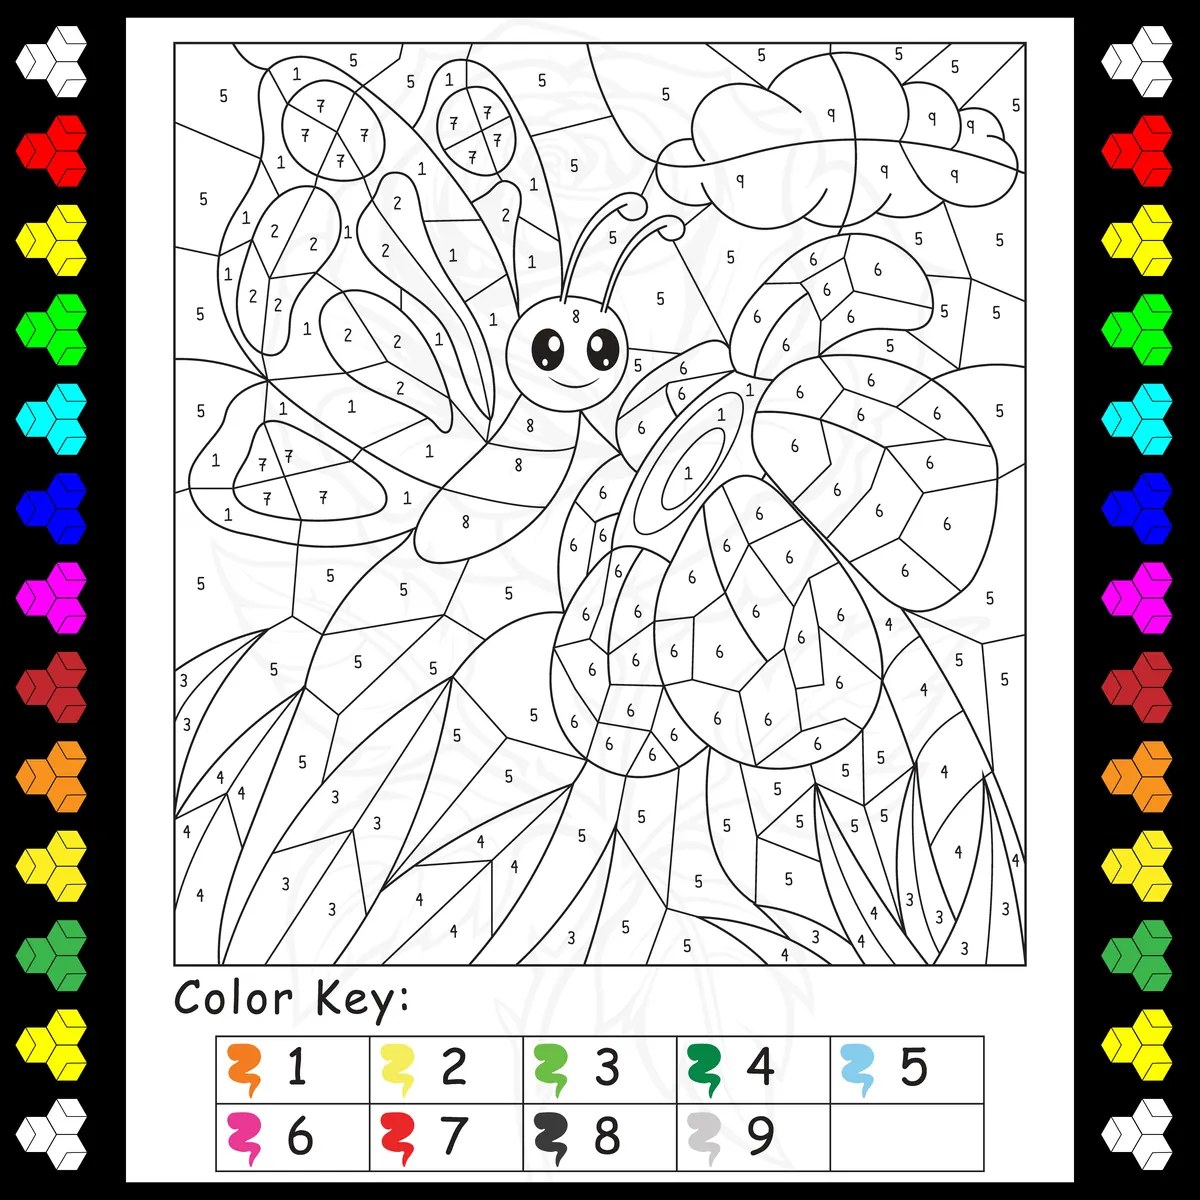
🦋 The butterfly among the flowers (9 colours)
A smiling butterfly resting in a bed of flowers, with an illustrated key of pencils numbered 1 to 9. Every area has a number: your child reads the code, finds the matching colour and colours it in. A rich, joyful sheet, perfect for practising in nursery or reception.
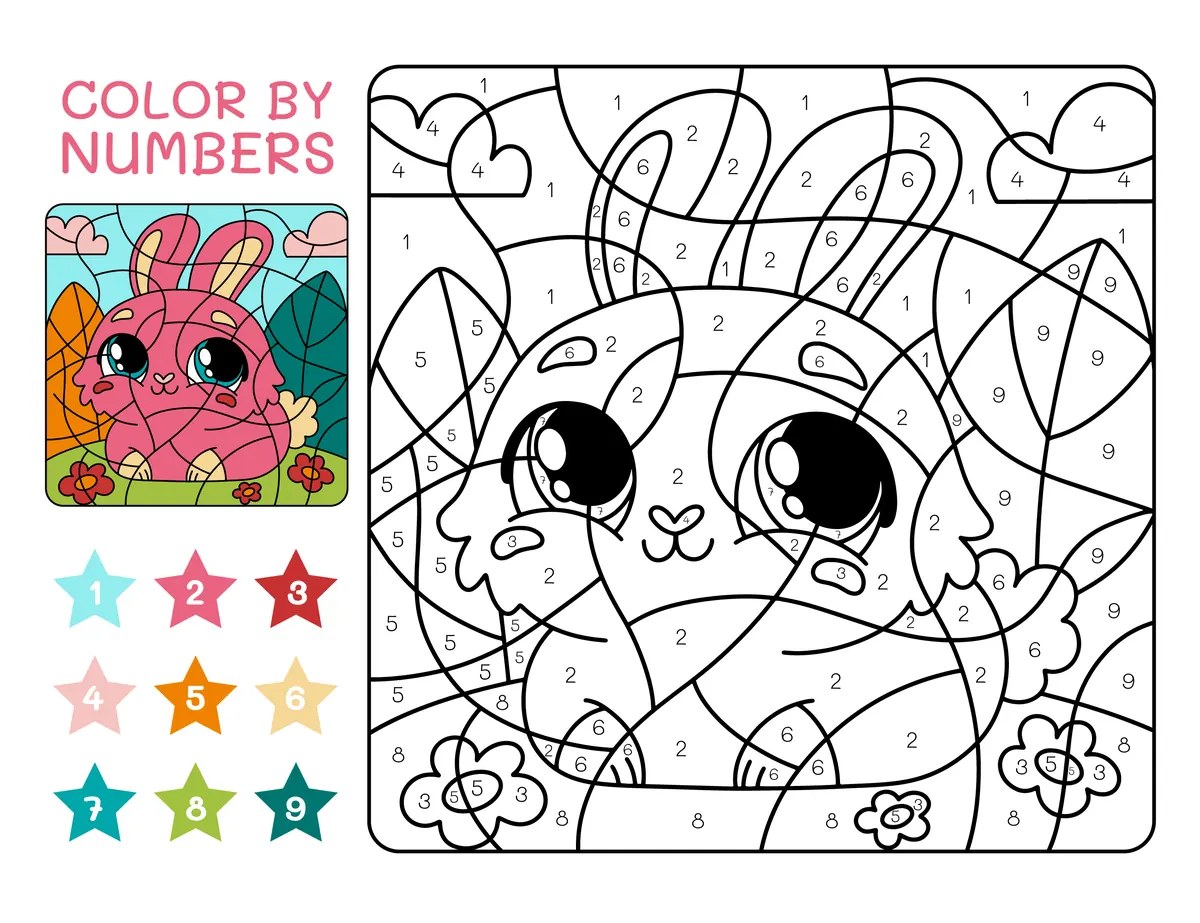
🐰 The funny rabbit (9 colours)
A round, big-eyed rabbit surrounded by little hearts, with its colour model and a key of stars numbered 1 to 9. The model helps your child picture the result: they know exactly where they’re heading.
🐷 The pig in a woolly hat (9 colours)
A pig snuggled up in its hat and scarf, surrounded by autumn leaves, to colour using a 9-colour code. Lots of small areas: a lovely precision challenge for children who are already comfortable with the idea.

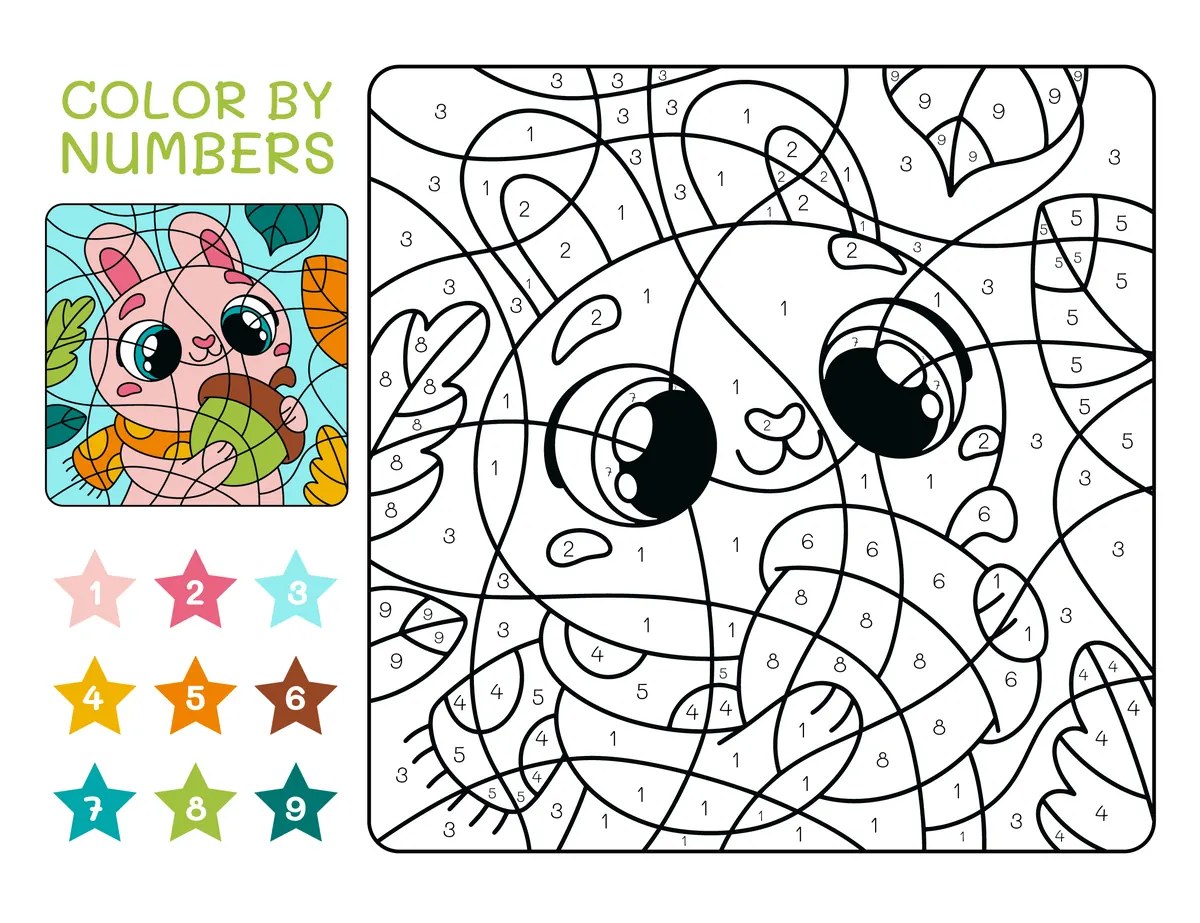
🐱 The kitten and the acorn (9 colours)
A gentle kitten cuddling an acorn between its paws, in a setting of autumn leaves. Nine colours marked with numbered stars, and a colour model right beside it to help. A tender, autumnal colouring sheet.
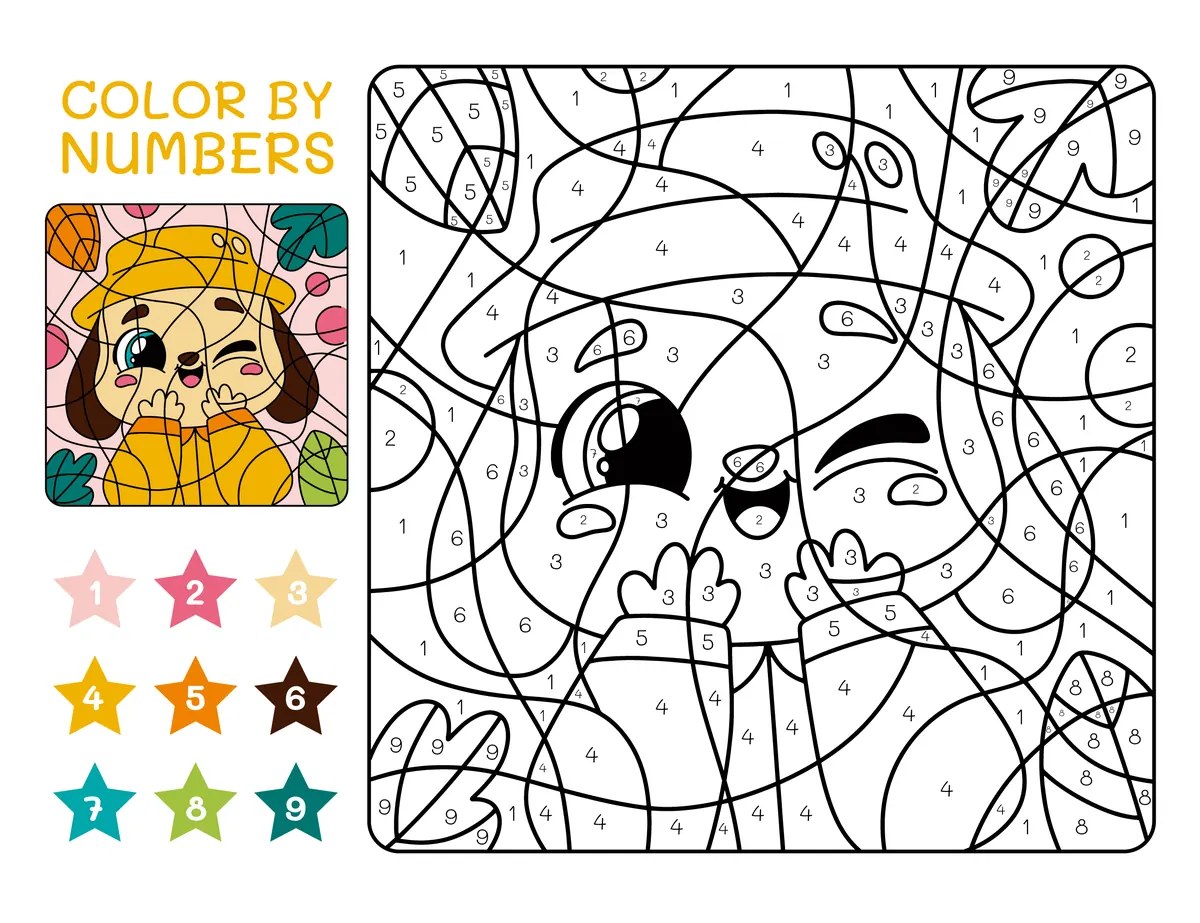
🐶 The dog in a yellow raincoat (9 colours)
A happy puppy in its yellow raincoat, giving a little wink. Nine colours and a reference model: a fun, colourful sheet that’s perfect for a rainy day.
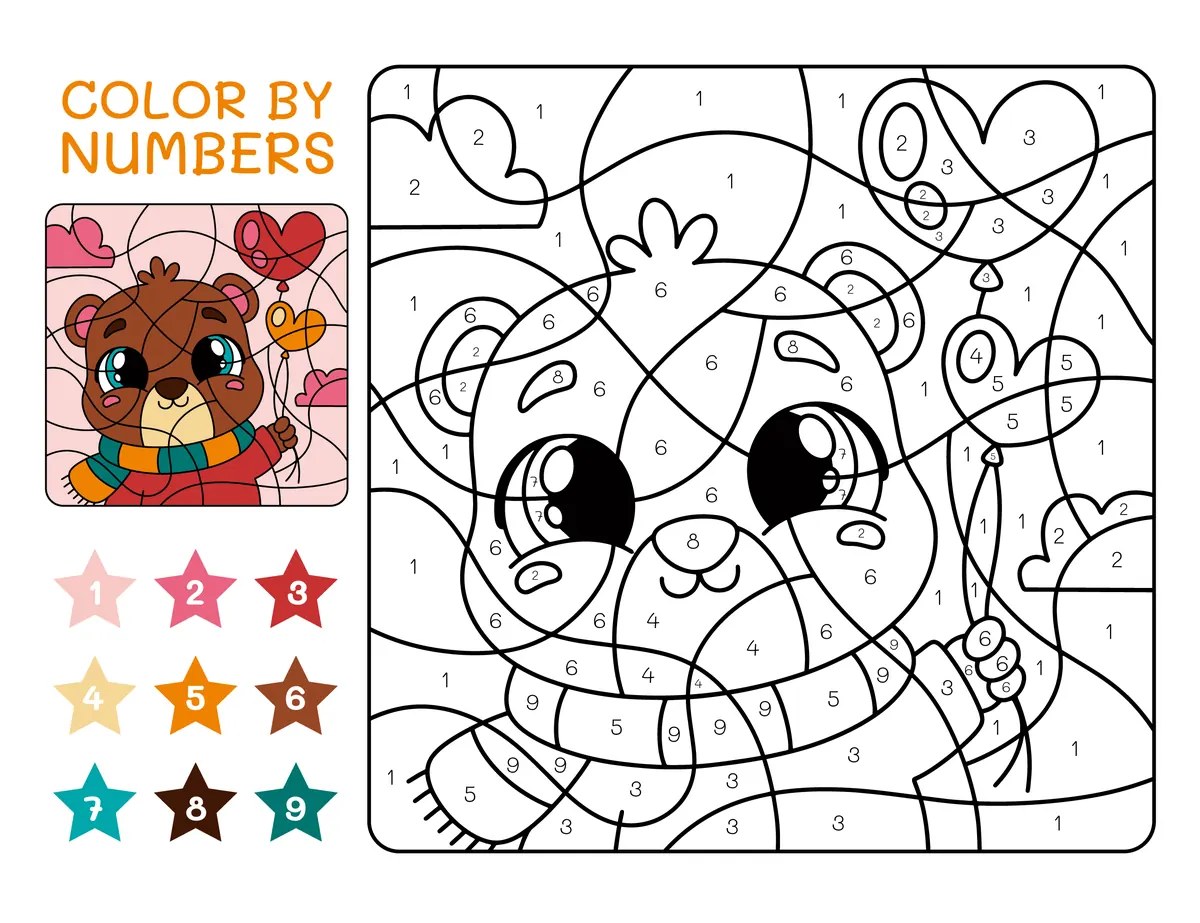
🎈 The teddy bear with balloons (9 colours)
A little bear in a scarf holding heart-shaped balloons, to colour using a 9-colour code. A tender, colourful scene for a slightly longer and very rewarding session.
🖼️ The picture-code: the version for little ones
For children who can’t recognise numbers yet, there’s an even more accessible version: the picture-code. Instead of a number, each area carries a little symbol. A sun = yellow. A leaf = green. A strawberry = red. Your child simply matches a picture to a colour, and they can start from as young as two and a half.
This symbol-based format is ideal for the very youngest because it requires no prior school skills. All they have to do is look: “I see a sun, the sun is yellow, so I take the yellow.” Children can follow that reasoning very early on, as soon as they know their basic colours.
You can easily make this kind of sheet at home (see our tips below) while you wait for your child to be ready for the number-code. Both formats rest on exactly the same logic: a code in the area, a colour in the key.
🧠 The learning benefits of colour-by-code
Colour-by-code develops several key skills for your child’s development.
The code-to-colour link is the central skill. Your child learns that a sign (a number, a symbol) can “say” something — that you can read a piece of information and turn it into action. It’s a form of early decoding, close in logic to reading.
Visual working memory gets a real workout: your child has to remember which code goes with which colour, keep checking back with the key, and hold onto that information throughout the activity. It’s an important predictor of future school learning.
Number recognition (1 to 9 on our sheets) is practised in an implicit, real-world way. Your child sees the number in the area, looks up the match in the key and applies the right colour: a back-and-forth that anchors the number as a meaningful symbol.
When it comes to fine motor skills, colouring inside set areas calls for control that develops bit by bit. At 3, your child often goes over the lines: that’s perfectly normal. By around 5, they stay within the lines better and better. This progress is visible and very rewarding.
💡 How to use the sheets with your child
Start by looking at the sheet’s key together. Point to each code, name the colour out loud (“1 is red; 2 is blue…”), and ask your child to find the right pencil or felt-tip. This little introduction takes two minutes and gets your child ready to work independently.
Encourage the “one colour at a time” approach: your child takes the red felt-tip, colours every area marked 1, then puts it down; next they take the blue, colour every area marked 2, and so on. This method is simpler and cuts down on mistakes.
If they’re unsure about a code, show them the key rather than giving them the answer. Going back to the key to check is a valuable skill they’ll use again in all sorts of school contexts.
As for equipment, broad-tip washable felt-tips are ideal in the early years: the colour is bold, the movement less tiring, and mistakes wipe off fingers easily. Coloured pencils also work well, especially for practising pencil pressure. Avoid watercolours, which bleed through the paper and make the codes impossible to read.
📈 From the picture-code to the number-code
Colour-by-code stays with your child for several years, with a natural progression from the simplest to the most abstract.
You start with the picture-code (from two and a half), then bring in mixed sheets where the symbol and the number appear together in the key (a picture of a sun next to the number 1). Your child relies on the picture at first, then gradually notices that 1 always matches the sun, and always matches yellow. The number-colour link builds up smoothly, without any sudden jump.
Once the numbers 1 to 3 are recognised reliably, your child can move on to number-only sheets, then climb gently up to 6, 8, or even 9 colours like the ones on our sheets. If they get stuck, they can go back to a simpler sheet: there’s no rush, and every format stays enriching at any age in the early years.
❓ FAQ
👶 Can children really start at two and a half?
Yes, with the picture-code version and very simple sheets (2 to 3 symbols, large areas). At two and a half, your child understands the picture-to-colour link if the symbols are familiar (sun, flower, strawberry). The colouring itself will be messy, and that’s perfectly normal: at this age the goal is understanding the idea, not precision.
🆚 What’s the difference with magic number-colouring?
Magic number-colouring is precisely one form of colour-by-code: here the code is a number. The “picture-code” version replaces the number with a symbol, which makes it accessible earlier, before number recognition. The code-to-colour matching is identical in both cases, and the two formats complement each other in a natural progression.
🎯 What’s the point compared with free colouring?
Free colouring develops creativity and personal expression. Colour-by-code, on the other hand, develops the ability to follow an instruction, decode a system and control impulses (colour by the rule, not “however you like”). The two formats complement each other and each has its place in a balanced day of activities.
🖍️ What equipment do you need?
The equipment is minimal: a printer, standard A4 paper and felt-tips or coloured pencils. For under-threes, broad-tip washable felt-tips (such as Crayola Washable) are recommended because they glide nicely and wipe off easily. A protective mat under the sheet is handy if your child presses down hard.
✂️ How can you make your own colour-by-code sheets at home?
Draw a simple outline (a sun, an animal, a house) on a blank sheet. Divide the inside into 3 to 5 areas with a single line. In each area, write a number (or draw a little symbol). In the margin, make the key by matching each code to a colour dot. Your homemade sheet is ready, and your child can help you choose the colours.
🏫 How can you use these sheets in a nursery classroom?
With the very youngest, go for the picture-code with 2 to 3 symbols and large areas. In nursery and reception, numbered sheets like ours (up to 9 colours) work well and lend themselves to differentiation: you give a 9-colour sheet to the most confident children, and a 3-to-4-code sheet to the others. They all do the same activity, each at their own level.