Is your child starting to form their first letters? Our printable alphabet tracing sheets are designed to support them step by step. 📝 Each sheet shows one capital letter as a big model, followed by four lines of guided dotted practice.
We offer 26 free sheets covering the whole alphabet from A to Z. They download in one click and print straight from your home printer. Your child traces the big model letter, then follows the dots on the lines below — exactly like the handwriting books used at school. ✏️
🔤 Our 26 printable alphabet tracing sheets
Each sheet shows one capital letter of the alphabet as a big model, followed by four lines of dotted practice. Print the letters in alphabetical order, or start with the ones in your child’s name for an instant motivating effect.
✈️ The letter A (model: Aeroplane)
We start gently with the very first letter of the alphabet. Your child traces the big capital A at the top of the sheet, then practises on four dotted lines. Ask them to find words that begin with A: aeroplane, apple, ant.

🎈 The letter B (model: Balloon)
The letter B needs two rounded loops, perfect for practising the curved movement. The big model at the top is the reference before the practice lines. Try writing ‘ball’ or ‘banana’ with the new Bs.

🐱 The letter C (model: Cat)
The capital C is one of the easiest letters to trace: a single curve opening to the right. It’s ideal for rebuilding confidence after a harder letter. Ask your child to name words starting with C: cat, car, cake.

🐬 The letter D (model: Dolphin)
The D combines a vertical line on the left with a big rounded curve on the right. This letter calls for managing the curve’s return onto the upright. Your child can then write words like dolphin, dinosaur or dragon.

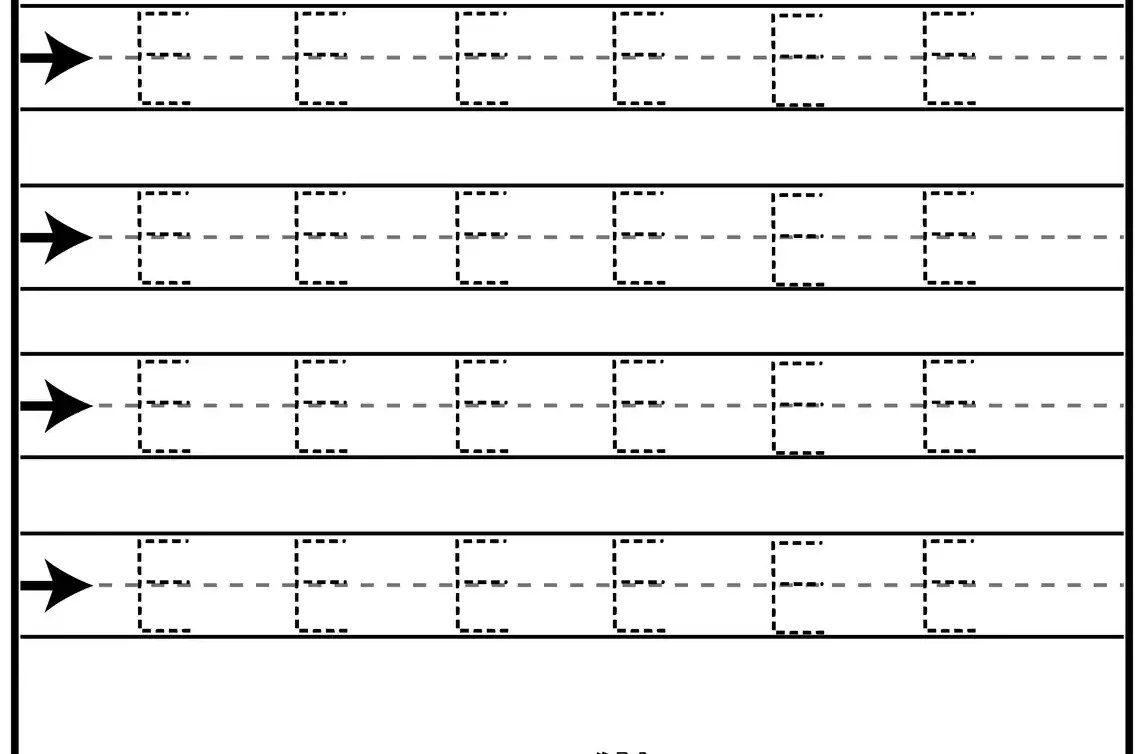
🐘 The letter E (model: Elephant)
The E is made of one vertical line and three horizontal lines. This very structured letter helps practise straight, parallel strokes. Spotting the three even bars trains visual organisation.
🐸 The letter F (model: Frog)
The F is like the E but without the bottom bar. This kinship helps memorise the two letters together. Your child notices that one stroke is all that separates an E from an F.

🦒 The letter G (model: Giraffe)
The G looks like a C with a little bar added inside. This subtle detail asks for good control to close the letter properly. Have your child compare the open C with the more closed G.

🏠 The letter H (model: House)
The H is two vertical lines joined by a horizontal bar in the middle. This very symmetrical letter helps work on balance between left and right. The centred bar is a good exercise in visual judgement.

🏝️ The letter I (model: Island)
The I is the simplest letter: a single vertical line topped with a dot. It’s perfect for an easy first success at the very start. Your child gains confidence before moving on to trickier letters.

🧩 The letter J (model: Jigsaw)
The J is a vertical line that hooks to the left at the bottom, with a dot on top. This little hook asks for a controlled change of direction. Have your child write ‘jam’ or ‘jug’ with the new J.
🪁 The letter K (model: Kite)
The K joins a vertical line with two oblique strokes meeting in the middle. This three-part build calls for good gesture coordination. The meeting point is the technical challenge to aim for.

🦁 The letter L (model: Lion)
The L is a vertical line with a horizontal foot at the bottom. This very simple letter offers a well-earned rest after the K. Your child can write ‘lion’ or ‘leaf’ with the new L.

🐭 The letter M (model: Mouse)
The M is made of four strokes forming two peaks. This longer letter needs good space management on the line. Counting the four strokes out loud helps memorise the build.

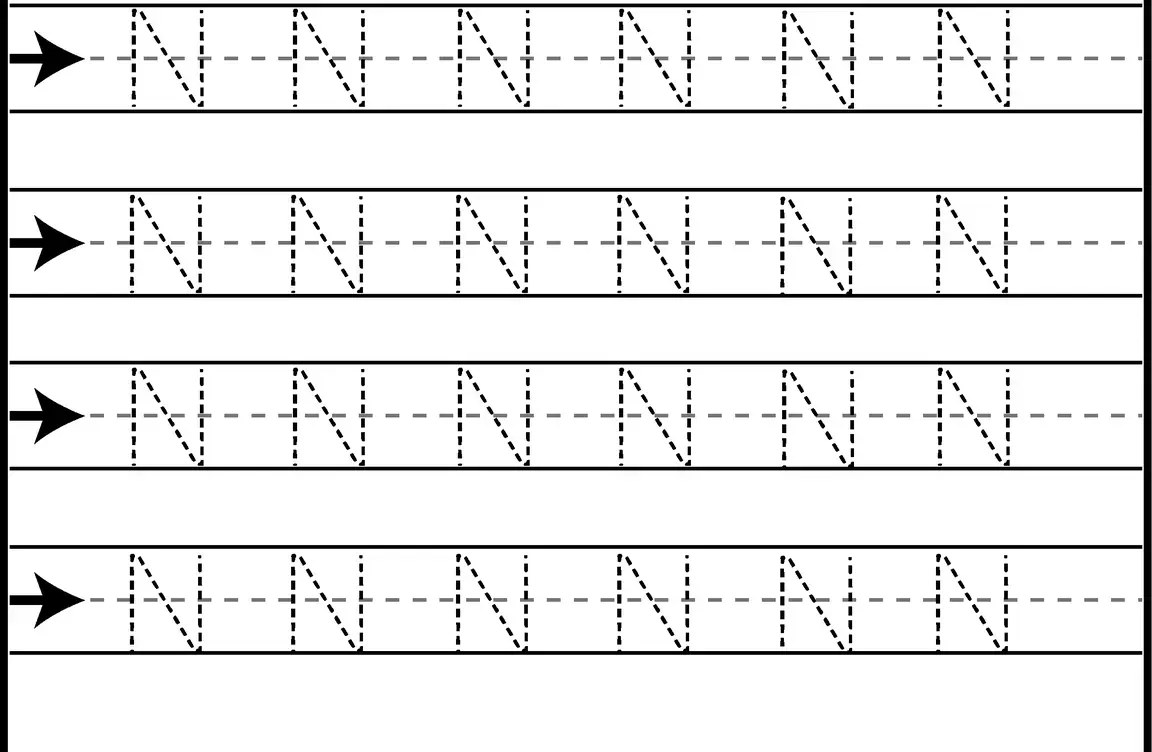
🪺 The letter N (model: Nest)
The N is like a simpler M with one peak instead of two. This visual kinship helps memorise both letters in parallel. Your child learns to tell apart M and N, which look very alike at first.
🦉 The letter O (model: Owl)
The capital O is a perfect circle, a technical challenge for a child’s hand. The big model helps picture the even curve to reproduce. The first tries will be oval: that’s normal, regularity comes with practice.

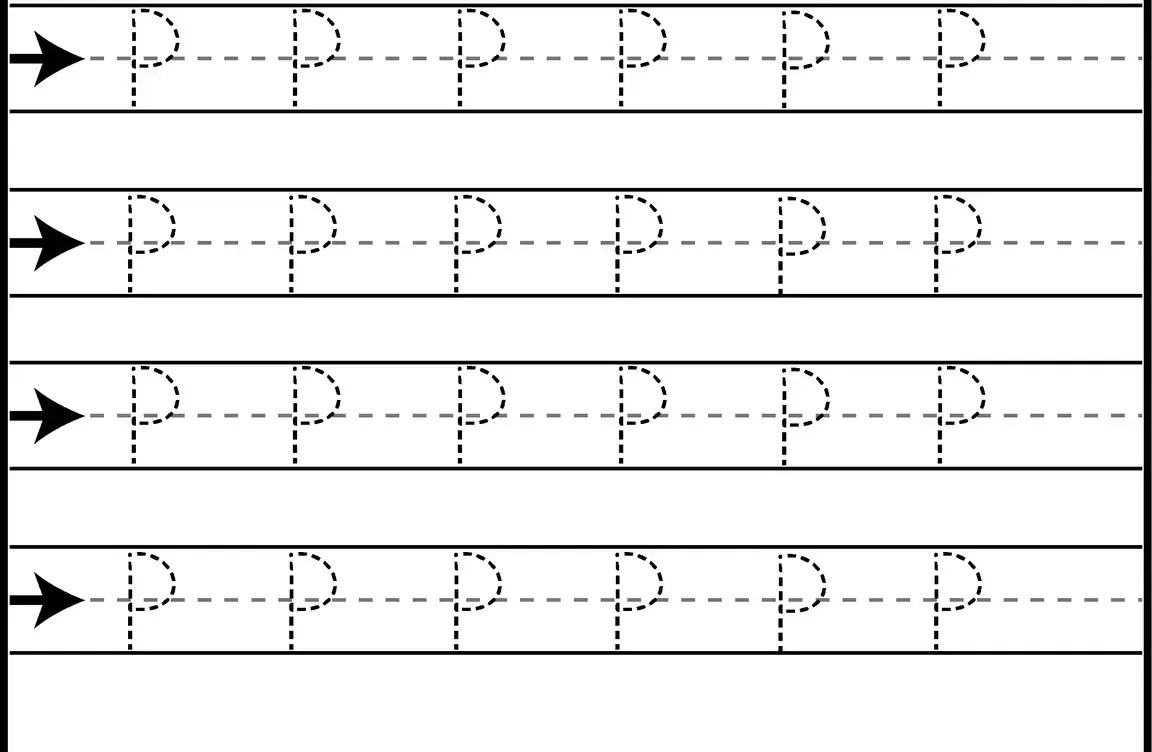
🐧 The letter P (model: Penguin)
The P combines a vertical line with a rounded loop at the top right. This structure already hints at looped lowercase letters like p, b or d. Have your child write ‘pig’ with the new capital Ps.
👸 The letter Q (model: Queen)
The Q looks like an O with a little tail poking out at the bottom right. This rare letter appears in queen, quick or quiz. It’s also a chance to talk about words that surprise us.

🌈 The letter R (model: Rainbow)
The R joins the loop of the P with an oblique stroke heading down to the right. This three-step build needs good control. Your child can then trace strong words like ‘rabbit’ or ‘robot’.

☀️ The letter S (model: Sun)
The S is one of the hardest letters because of its double curve. The big model is very useful for understanding the snake shape to draw. Patience and slowness are the keys to a lovely even S.

🐢 The letter T (model: Turtle)
The T is two perpendicular strokes: a horizontal one on top and a vertical one below. This very geometric letter is reassuring after the demanding S. It’s also a handy letter, as it starts many words.

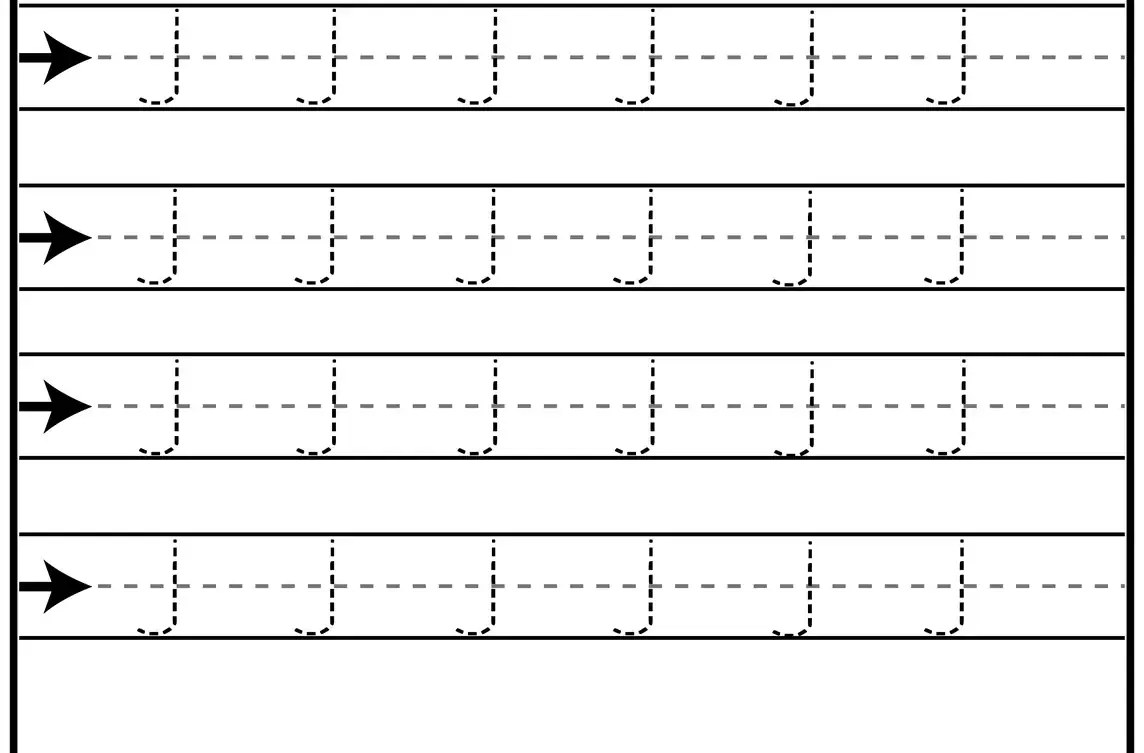
☂️ The letter U (model: Umbrella)
The U is a simple curve that dips and rises, like a valley. Its smooth flow makes it a pleasant letter after the angles of the T. Have your child write ‘up’ or ‘under’ with the new U.
🌋 The letter V (model: Volcano)
The V is two oblique strokes meeting in a point at the bottom. It’s the angular version of the U and helps understand the difference clearly. Have your child notice the sharp point that sets the V apart from the U.

🐋 The letter W (model: Whale)
The W is four oblique strokes forming two joined Vs. It’s a longer letter that needs steady space management. Take the chance to talk about words like whale or window.

🎶 The letter X (model: Xylophone)
The X is two oblique strokes crossing in the centre. This geometric cross asks for good aim at the crossing point. This rare letter appears in xylophone, taxi or six: a nice way to grow vocabulary.

🪀 The letter Y (model: Yo-yo)
The Y is two oblique strokes meeting in the middle, then dropping down together. This elegant letter calls for managing the junction point well. Your child can write ‘yo-yo’, ‘yes’ or ‘yellow’ with the new Y.

🦓 The letter Z (model: Zebra)
The Z ends the alphabet with its lightning-bolt shape. Three strokes are enough: horizontal, oblique, horizontal. Praise your child for completing the whole alphabet, and look for Z words together: zebra, zoo, zero.

🌟 The benefits of tracing for learning to write well
Far from being a mechanical activity, tracing letters develops many skills. Your child builds up their handwriting movement, focus and visual memory all at once. Every finished sheet anchors the letter’s shape for good.
🧠 Lasting memory of letter shapes
Tracing a letter twenty-five times in a large format anchors its shape in visual memory. Your child no longer needs to think to recognise the letter afterwards. This automatic recall then frees up attention for understanding the meaning of words.
Practice guided by the dots avoids fixing a wrong movement. The child takes in the correct shape directly, with no bad habit to correct later. That’s far more effective than letting a child trace freely with no model.
✋ Strengthening fine motor skills
The muscles of the hand and fingers develop through regular practice. Tracing several letters a day gradually builds the areas essential for writing. This physical preparation prevents aches and tiredness during later writing tasks.
The precision of the movement sharpens with each repetition along the dots. Your child learns to control their pressure and direction. Both skills are absolutely essential for writing legibly later on.
✍️ Getting ready for joined-up writing
Mastering block capitals naturally comes before moving on to joined-up writing. This first step lays the foundations of the handwriting movement. A child who knows their capitals well approaches cursive with far more calm.
Working on the practice lines already builds the habit of keeping a steady letter height. This regular sizing stays valuable for cursive. Your child saves time later when learning joined-up writing.
🤝 Tips for supporting your child
Good support turns a tracing session into special time together. A few simple principles help you get the most enjoyment and learning out of it. Your child makes better progress when they feel supported without being taken over.
🔄 Respecting the standard stroke order
Each letter is traced in a set order taught at school. For most capitals, you start with the left-hand vertical stroke. This convention later helps the smooth move into joined-up writing.
If your child traces in the wrong direction, correct it gently without making a fuss. Show the right movement by tracing the letter in the air yourself. This visual demonstration works better than a long, abstract verbal explanation.
⏱️ Keeping sessions short to keep them fun
Fifteen to twenty minutes per session is plenty at this age. Beyond that, tired muscles and boredom take over from learning. A short daily session beats one long weekly session.
Offer two or three sheets per session, no more at the start. Your child finishes on a success and keeps the urge to carry on tomorrow. This gentle regularity builds the habit without turning the activity into a chore.
👏 Valuing the effort over a perfect result
The first attempts will go over the dots, and that’s completely normal. Precision comes with practice: don’t focus on the imperfections. Instead, highlight the effort and focus you see in your child.
Avoid comparing your child’s sheets to an imaginary perfect model. Instead, compare today’s sheet with the one from two weeks ago. This measure of personal progress is far more motivating than unreachable perfection.
🖨️ How to print and use the sheets
The practical set-up largely shapes your child’s comfort. A few simple preparations guarantee a smooth, pleasant session. Your child gets straight into learning with no demotivating dead time.
🖨️ Preparing a quality print
Open the sheet you want and choose A4 portrait at standard quality on your printer. This setting keeps the dots the right size for your child’s hand. A clear print on plain paper is plenty.
Use white paper of at least 90 gsm if you can. This thickness stops felt-tips bleeding through and marking the table below. Quality paper also honours the careful work your child has just done.
🖊️ Choosing the right writing tool
An HB pencil is perfect for the first sessions. Your child can rub out any overshoot without damaging the page. This safety net reassures slightly perfectionist children.
For later sheets, offer a fine, brightly coloured felt-tip. The line becomes clearer and more rewarding to look at afterwards. Vary the colours from session to session to keep things fresh and motivating.
📁 Setting up a home writing folder
Keep each finished sheet in a folder dedicated to writing. Your child watches their collection of mastered letters grow week by week. This concrete record of progress hugely boosts motivation.
Note the date on each sheet so you can compare over time. Coming back to the first sheets three months later is very motivating for your child. They measure their progress and regain confidence to take on new challenges.
➡️ Going beyond tracing
Once the letters are traced, a thousand activities can extend the learning. These extensions turn a simple sheet into a richer writing project. Your child deepens their knowledge while having even more fun.
🖼️ Linking each letter to a word and a drawing
Under each big traced letter, ask your child to draw an object starting with that letter. A for aeroplane, B for balloon, C for cat: the list is endless. This link anchors the letter’s sound firmly in the memory.
You can also write the matching word together under the drawing. The child then connects letter, sound, image and whole word. This cross-work prepares reading beautifully.
📝 Writing their name and everyday words
Once your child knows several letters, have them write their name. This first personal writing marks a very important symbolic step. Every child loves seeing their name appear under their own fingers.
Then extend to familiar words: mum, dad, the cat’s name, school. Your child understands that letters are for writing real, useful words. This practical side of writing instantly boosts everyday motivation.
🎲 Discovering the whole alphabet through other activities
Round off tracing with songs, rhymes and alphabet games. This variety of formats keeps curiosity alive and multiplies the angles of learning.
Puzzles, magnets and illustrated alphabet books are excellent extras. Your child handles letters in every dimension: visual, tactile, sound. This multi-sensory approach anchors the learning firmly in long-term memory.
❓ FAQ
👶 From what age can these tracing sheets be used?
These sheets suit children from about five years old. Your child should already recognise letters and know how to hold a pencil correctly. For motivated younger children, start with the simple letters: I, L, T, O.
🔤 Should we start with the letters in alphabetical order?
No, it isn’t compulsory and is sometimes even counter-productive. Starting with the letters in your child’s name is usually more motivating. You can also follow an order of rising difficulty: I, L, T, O, C, U, V, E, F, H, K, M, N, A, B, P, R, D, G, J, Q, S, X, Y, Z, W.
😅 Which letters are the hardest to trace?
Double-curve letters like the S are the most demanding. Multi-stroke letters like M and W also need good space management. The Q, with its tricky little tail, can catch children out. By contrast, I, L, T, O and C are within reach of beginners.
🔄 My child traces letters back to front — should I worry?
Letter reversals are normal until around six or seven years old. The brain gradually learns to tell apart spatial orientations. If reversals persist past that age, mention it to the teacher and possibly a speech therapist.
📑 How many sheets should I offer per session?
Two or three sheets per session is plenty at the start of learning. Muscle tiredness comes quickly in young children just beginning to write. A short daily session beats one long, tiring weekly session.
♻️ Can the sheets be laminated to reuse them?
Yes, it’s an excellent idea for practising several times without waste. Laminate the printed sheet and use wipe-clean markers. Your child can then start over endlessly on the same sheet until they’ve mastered it.
🏫 Are these sheets suitable for teachers in class?
Absolutely — many early-years teachers use this kind of resource. They complement shop-bought handwriting books perfectly. These sheets are free to use in a non-commercial educational setting, at school or at home.